Low Cost 3D Printing Basics for Tiny Apartment Dwellers 2026
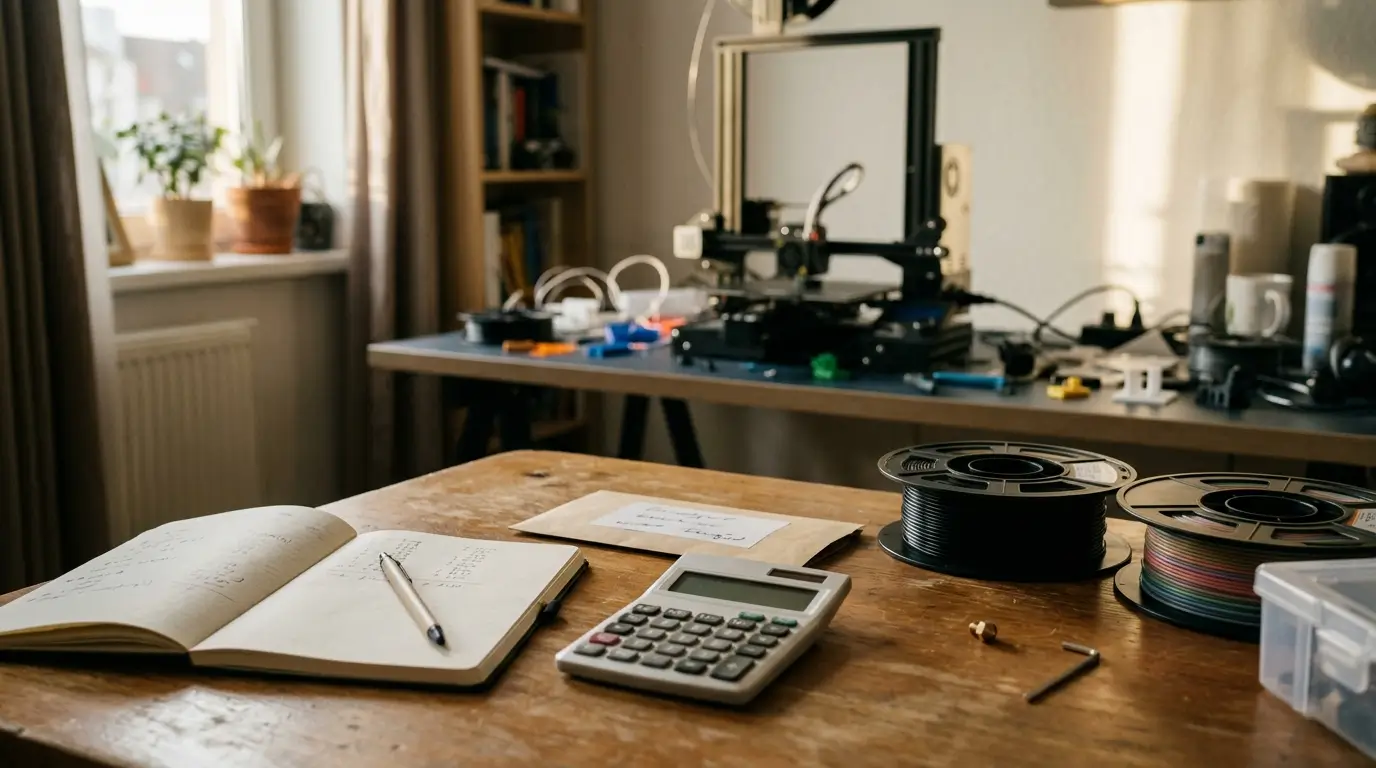
I set up low cost 3d printing basics for tiny apartment dwellers in a 420-square-foot studio, beside a bookshelf and a very patient cat. The first printer took two feet of floor space and half my patience. Eight spools later, I know which upgrades matter, which noise fixes actually work, and where newbies waste money. Here is the setup I wish I had from day one.
Low Cost 3D Printing Basics for Tiny Apartment Dwellers: Pick a Printer That Fits
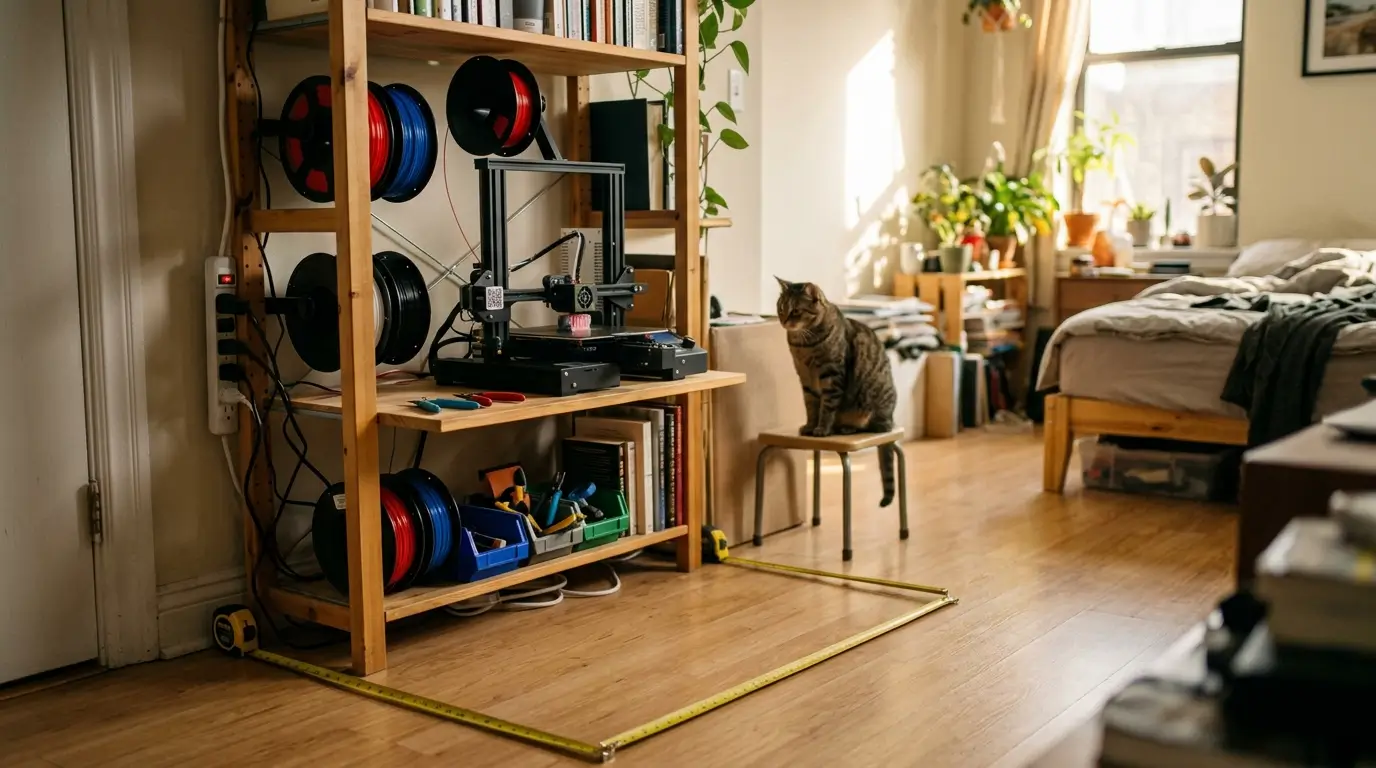
The printer you choose decides how much floor and patience you lose. A bed slinger needs clearance for the bed to slide, and that footprint is always bigger than the product photo. I measured my shelf, taped the real dimensions on the floor, then chose a Bambu Lab A1 mini for its compact 180mm bed. A Creality Ender 3 V3 SE or Elegoo Neptune 4 can work too, but check the spool arm and cable swing.
Also Read: Foolproof Laptop Troubleshooting Steps for Beginners 2026
The best low cost 3d printing basics for tiny apartment dwellers start with a smaller build volume and fewer broken dreams about full helmets. Brackets, toys, and planters rarely need a huge bed. If you buy used, budget for a new nozzle and a bed surface. A cheap unknown printer can be fun, but replacement parts cost time.
Build a Boring, Stable Home for It
Stability matters more than a fancy enclosure. I put my printer on a solid IKEA Lack table, added anti-vibration feet, and used 3M strips to keep the table from walking across the floor. A concrete paver under the printer can quiet a shaky frame for less than a pizza. Keep loose tools off the print bed, route cables away from the moving bed, and leave a little breathing room behind the machine.
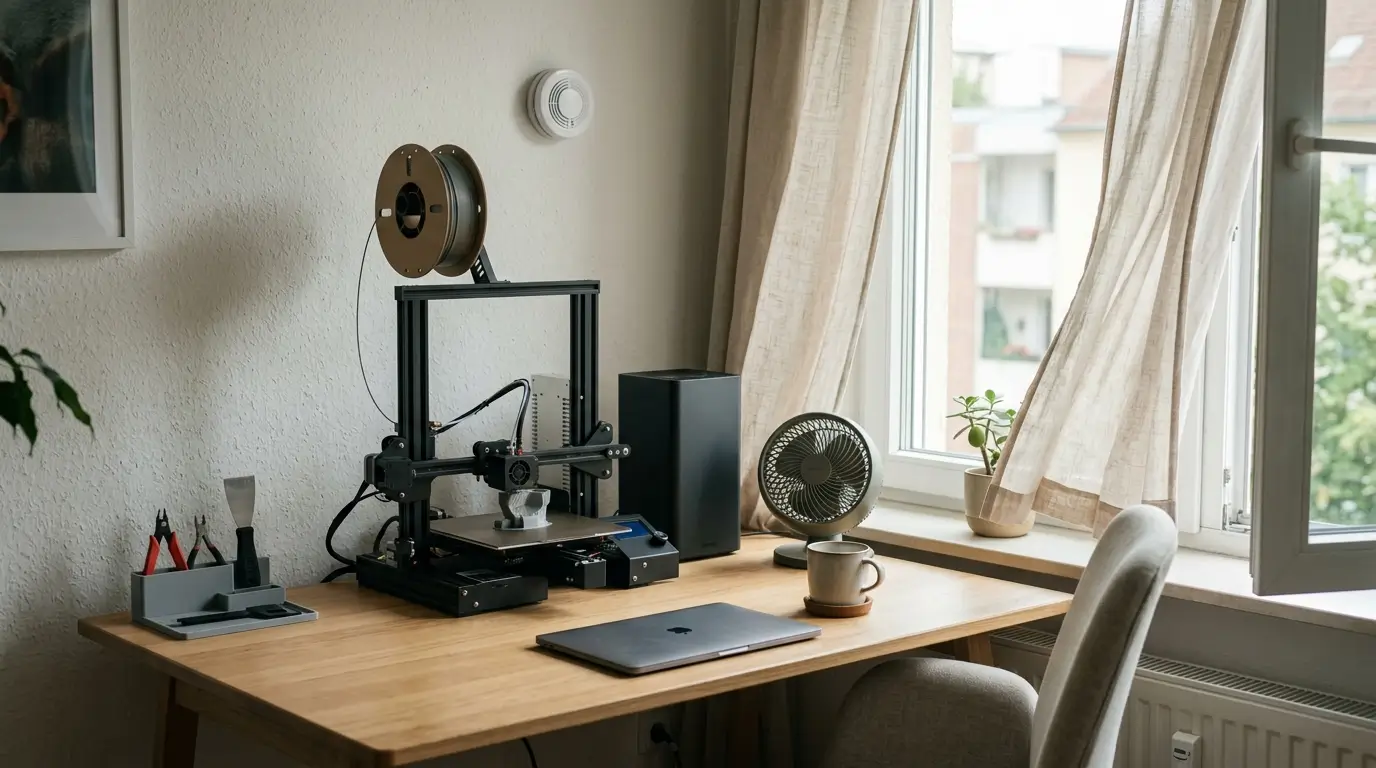
The setup should look stable, because stable means the print does not turn into spaghetti at 2 a.m. Renters should avoid drilling giant shelves; a sturdy bookcase and a non-slip pad do plenty. Also keep a smoke detector nearby and never start a dodgy print before leaving home.
Fix Noise Before Your Neighbors Fix You
Noise is part of the rent. A printer against a shared wall sounds like a tiny robot argument to your neighbor. I moved mine away from the bedroom wall, put it on a paver, and tightened every loose spool holder screw. Good low cost 3d printing basics for tiny apartment dwellers include silent stepper drivers, rubber feet, and not printing at midnight.
The Bambu A1 mini is fairly quiet in normal mode, though not silent. Older Enders can benefit from a silent board, but do the cheap fixes first. If your floor is thin, a thick rug under the table helps more than another app. Also listen for rattles, not just motor noise. Loose filament spools and tool drawers can be louder than the printer. A $10 foam mat is not glamorous, but it saves neighbor drama.
Treat Smell and Ventilation Like Grown-Up Business
Smell is the warning light, not the whole story. PLA is the mild choice for a small room, yet it still releases some particles when melted. I keep a window cracked, run a small fan toward the window, and use a carbon filter nearby. A cardboard enclosure in a studio makes me nervous, so I skip it. PETG is manageable with airflow.
ABS and ASA are not worth the odor in a one-room setup. Resin printing needs proper ventilation and gloves, and I would not run it beside my bed. If you cannot vent, choose PLA and keep prints shorter. Filters help, but they do not replace fresh air. Check the room after a two-hour print; if your throat feels scratchy, change something.
Store Filament Without Giving Up Your Closet
Filament is the quiet space hog. A spool looks small until you own eight of them. I store mine in a gasketed plastic bin with silica packs, then keep the spool currently printing inside a cheap dry box. Sunlu and Overture spools fit most of these boxes, though check the width before buying. Small wall shelves and under-bed bins are rental friendly.
This is where low cost 3d printing basics for tiny apartment dwellers get practical: protect the plastic from damp air or you will blame the printer for a clog that came from wet filament. Don’t stack spools on top of the printer. Warm motors and dust make that spot worse than a closet. A digital hygrometer costs little and ends the guesswork. Keep the bin closed with clips, not hope.
Buy Cheap Tools That Save Expensive Filament
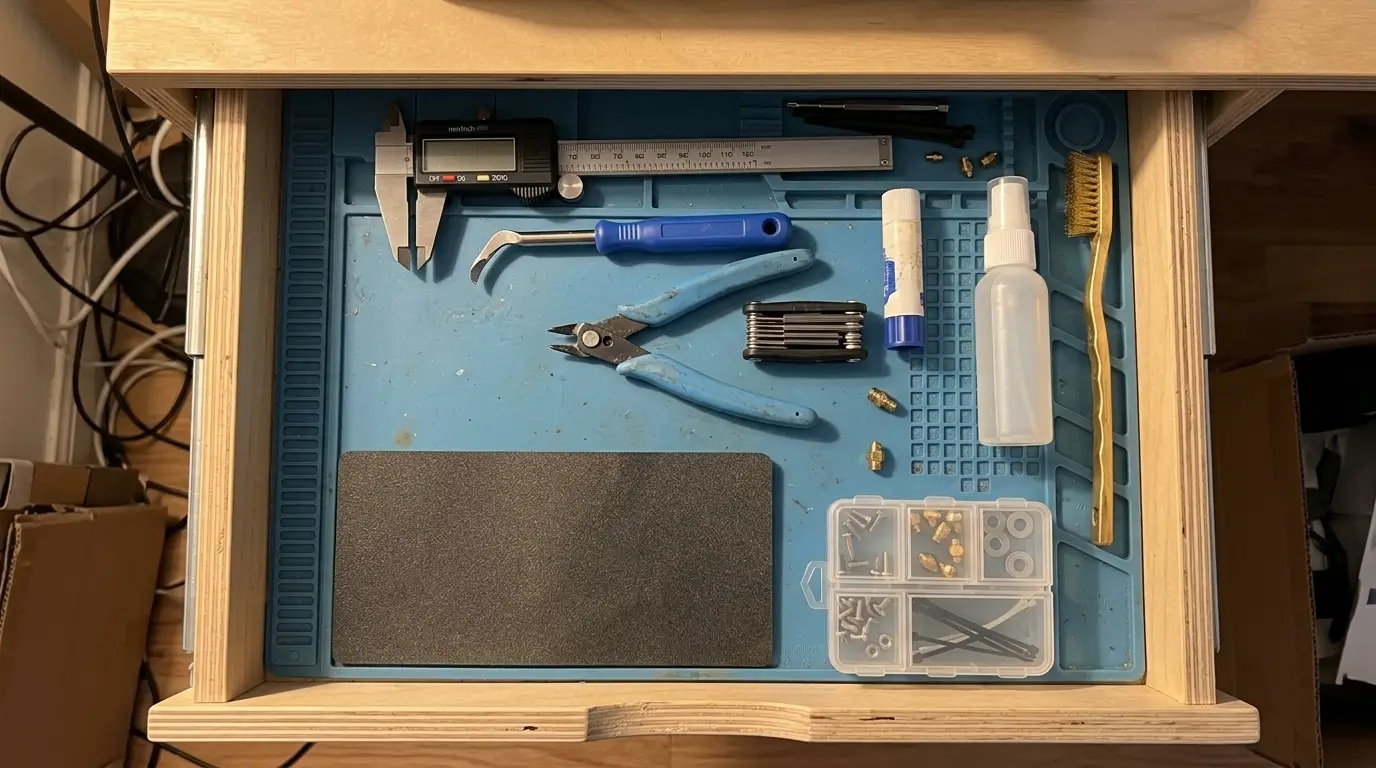
Tools beat upgrades. A $20 digital caliper, a deburring tool, flush cutters, and a small hex driver set solve more problems than a light kit. I use a glue stick on tricky edges, isopropyl alcohol for bed cleaning, and a brass brush for nozzle gunk. Buy a spare nozzle and a spare bed sheet before you need them. Upgrades can eat your budget fast, especially on an older printer.
Spend first on a dry box and a decent pair of cutters. A webcam is nice, but a clean bed and a level plate fix more failed prints. Keep everything in one small drawer. You do not need a workshop. A silicone mat and a shallow parts tray contain most mess. For parts, a tiny bin system beats a giant toolbox in a studio.
Keep Cleanup Small, Fast, and Cat-Safe
Cleanup is the part nobody warns you about. I keep a small HEPA vacuum near the printer, plus a silicone mat under it for stray bits. Skirts, brims, and failed supports go straight into a lidded bin so my cat does not treat them as snacks. A painter’s tape lint roller picks up dust from a magnetic bed in seconds. Do not rinse PLA scraps down the sink.
Trim support points outside over a tray, not over carpet. A five-minute reset after each print keeps the machine usable and the apartment from looking like a plastic snow globe. Hide the ugly stuff. A cheap label maker helps you know which spool is dried. Keep cleaning supplies close enough that you actually use them. Sort by project, not by chaos.
Run the Real Cost Numbers
Budget with failed prints in mind. A budget printer might run roughly $200 to $300, filament runs about $18 to $25 per kg, and tools add $40 to $80. Power use is small for most desktop printers, often pennies per short print, but a heated bed and long jobs add up. The hidden cost is time: bad adhesion, wet filament, and tuning can eat an afternoon.
Buy one good spool instead of four mystery colors. Track the first month in a note app, then decide if you need upgrades. Cheap printing stays cheap only when you stop buying hopeful gadgets. A $10 nozzle swap can save a machine, while a $60 upgrade may just move the same problem. Set a monthly filament cap and label every spool. That one habit keeps a tiny hobby from becoming a tiny warehouse.
FAQs
Can a 3D printer fit in a studio apartment?
Yes, if you size the printer to your real table, not your dreams. A compact model like a Bambu Lab A1 mini or Kingroon KP3S can live on a sturdy shelf. Measure the moving bed, spool arm, and cable clearance, then keep a few inches around it for airflow.
How much does a budget 3D printing setup really cost?
A basic printer costs roughly $200 to $300. A couple of spools add $40 to $50, and small tools add $40 to $80. Add a dry box, spare nozzle, and a storage bin. A $150 printer can work, but budget for replacement parts and your own time.
What is the biggest mistake in low cost 3D printing for small apartments?
Buying a big printer before measuring the moving footprint. A second common mistake is storing filament in damp bathroom air. Start small, keep one dry spool, and protect your table from wobble. A compact machine that runs reliably beats a huge one that creates neighbor drama.
Do I need an enclosure for PLA in a tiny space?
Usually no. PLA needs airflow more than a sealed box, and a closed enclosure can trap heat and smell. A cardboard enclosure in a studio feels risky to me. Keep the room ventilated, avoid long unattended prints, and skip high-odor plastics unless you have proper extraction.
How do I stop 3D printing smells from taking over one room?
Use PLA as your default, print near a window, and move air outside with a small fan. Add a carbon filter for extra help, but do not treat it as a substitute for fresh air. Take breaks after long prints. If your eyes water or your throat feels scratchy, stop and change the setup.
Conclusion
So keep the printer small, the table solid, and the filament dry. My tiny setup is not fancy, but it earns its shelf space, and the cat has stopped treating it as a rival. What is the one print you would actually make room for?




One thought on “Low Cost 3D Printing Basics for Tiny Apartment Dwellers 2026”